Hello friends,
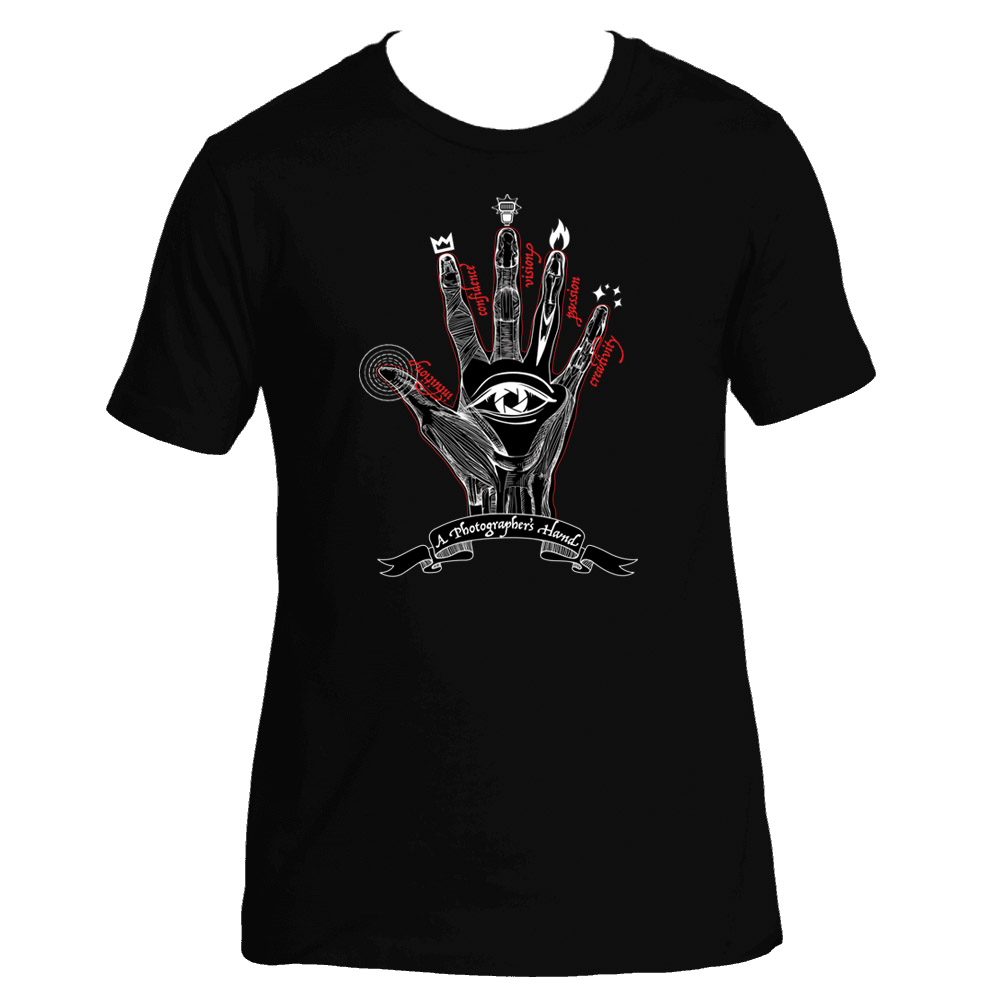
Wearing clothes that empower and inspire you is a great way to start your day off in a positive way. I just finished a new design for a t-shirt for all you photographers out there.
I drew this to help remind you (hopefully while you’re out photographing) all the qualities that you have as a photographer and to boost your confidence. Enjoy!

Step 1: Compile References

This is my own hand since I couldn’t find a picture online that fit my vision. Plus I’m quite proud of the manicure I did while watching “Punisher” on Netflix (it’s so good, you should seriously watch it if you haven’t).

A compiled collage of images from Google of bone and muscle structure.
Step 2: Create Line-work

Drawn in Adobe Illustrator.
Step 3: Rough Layout Sketch

This embarrasses me to share but it shows the importance of planning an artworks message, theme and layout before working on the final piece. Some of the finger tip writing descriptions and designs got changed around.
Step 4: Make Finger Tip Designs

Eric and Cindy’s clever idea to make the eye into a cameras aperture blades.

Step 5: Finger Tip Writing

Step 6: Add Elements Together

Step 7: Draw Bone/Muscle

Drawn in Adobe Photoshop.
Step 8: Change Colors For Final T-Shirt Design

Edited in Adobe Photoshop.

The final design on a shirt.


Here are other prototypes that did not make the final cut. It can be difficult to look at your art objectively because you see it as your precious baby that you created. You must kill your babies to decide how to make your message more effective to the viewer.
I love working digitally (through Photoshop/Illustrator) because I get too attached to drawings/paintings I make in “real life”. Although I think going in another direction could be better, it is soul crushing to erase/cover up your current work forever. Working digitally allows you to try different mockups to compare and experiment more freely.
Thanks for looking and get your own “A Photographer’s Hand” artwear in the Eric Kim x HAPTIC shop.
